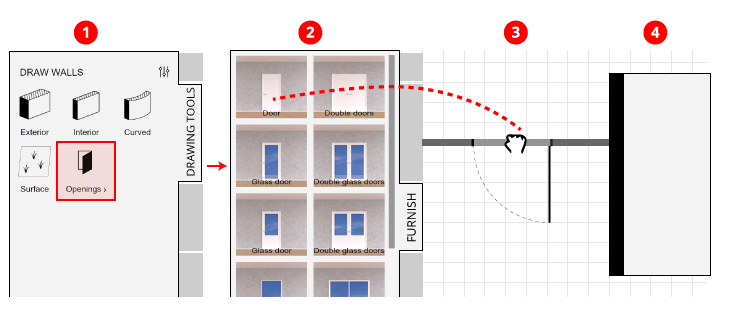
After selecting a Wall tool (“Exterior” or “Interior”) in the left panel (D), click on the work plan and start drawing your floor plan.
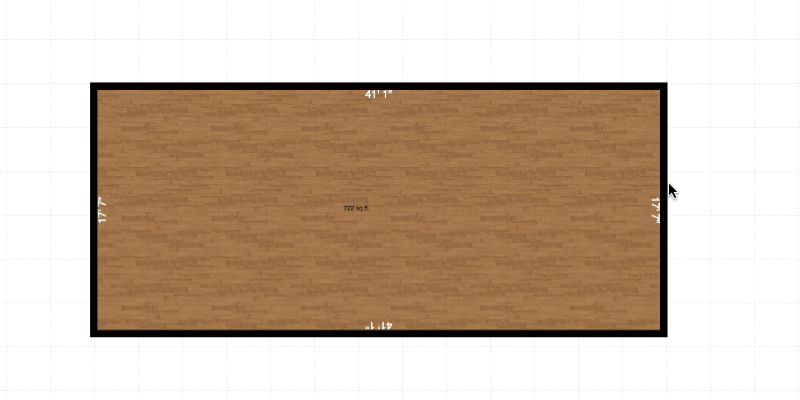
Click to add a new corner. When finished, simply press the ESCAPE key. Once a space is closed, its floor appears.
Types of walls:

To move a wall or resize a room, simply click and grab the selected wall by staying left-click of the mouse pressed while moving.
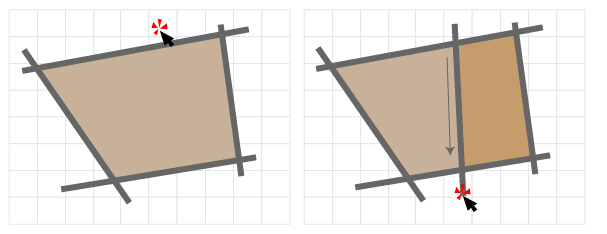
To move a corner, simply click and grab it by staying left-click of the mouse pressed while moving.
To merge two corners, simply drag and drop it on another one: these two corners will then be merged.
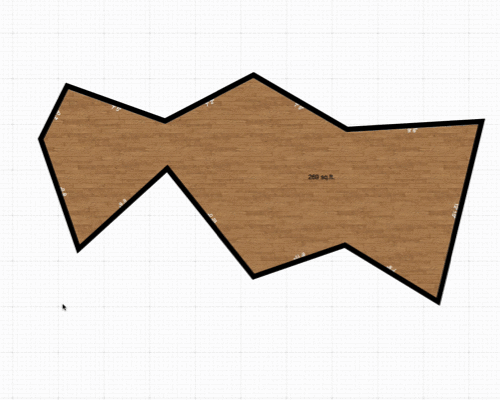
Use a drawing tool (wall or surface) and draw freely to compose spaces. You can cut through other walls to divide spaces.
If a new room is created, its label will be displayed at the center showing information about the new area.
The insertion of the construction elements is performed in the 2D floor plan view of the application. For precise positioning, you can use the Dimension tool.
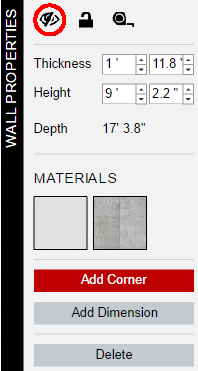
Build your terrace with walls, as if you were creating a room. To open your terrace, click on the exterior wall you want to hide. Click on the eye on the wall properties panel to hide the selected wall.
You can also use the "Outdoors" tool to create your terrace and automatically hide walls.
You can change the floor material to customize your terrace.

Levels menus are available from the black horizontal top-bar.
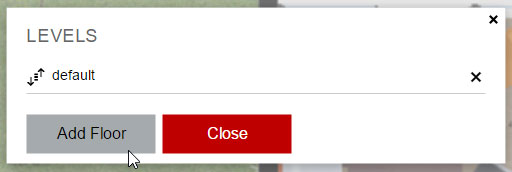
To add a new level, click on the “Show Levels” icon in the black horizontal top-bar.
A window will appear showing all the existing floors. To add a new one, click on “Add Floor”.
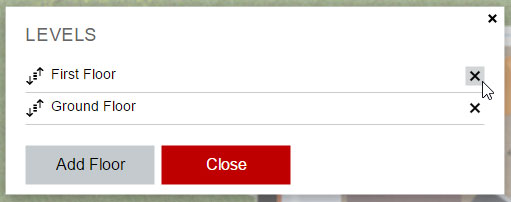
To delete a level, click on the “Show Levels” icon in the black horizontal top-bar.
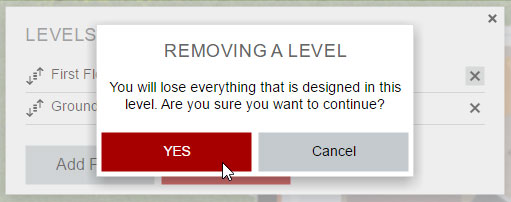
A window will appear showing all the existing floors. To delete a level, click on the cross next to the name of the desired level. Confirm the removal of your level to delete its floor plan permanently.
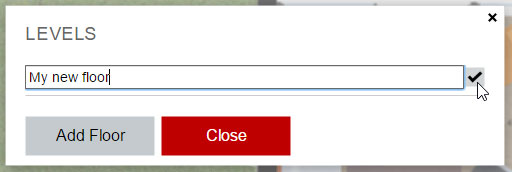
To rename a level, click on the “Show Levels” icon in the black horizontal top-bar.
A window will appear showing all the existing floors. To rename a level, double click on its name and type the desired name. Once done, click the ✔ icon to confirm.
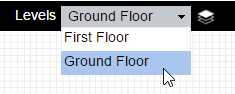
To change the level floor plan currently seen, click on the Levels drop-down menu.
All existing floors will be displayed, click on a floor to make it appear.
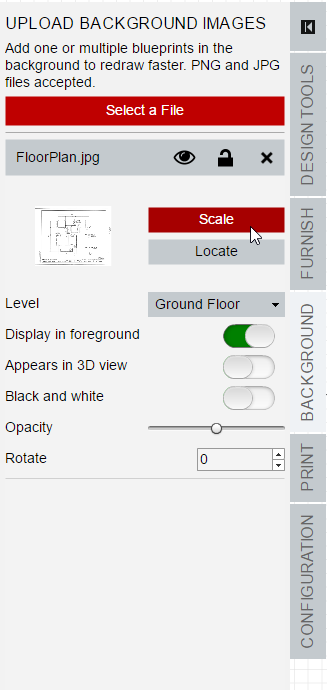
To upload a background image, such as a reference floor plan, click on the "Background" Menu in the left panel. Then, click on "Select a file" to browse through the folders on your computer and choose one or multiple files.
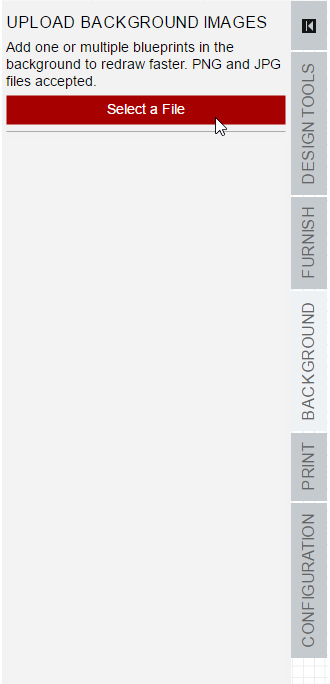
Confirm to upload your image. It should now appear on your drawing space. You can find every option attached to your background by clicking on the "Background" Menu.
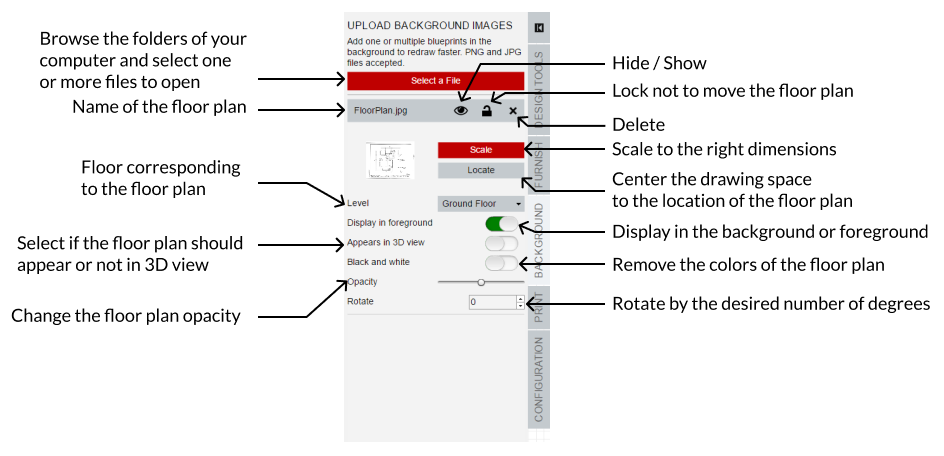
To scale your floor plan image and draw over it with the proper dimensions, click on "Scale" in the "Background" Menu.
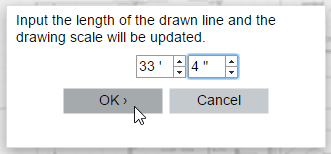
Click on "Draw the line" to scale your floor plan.
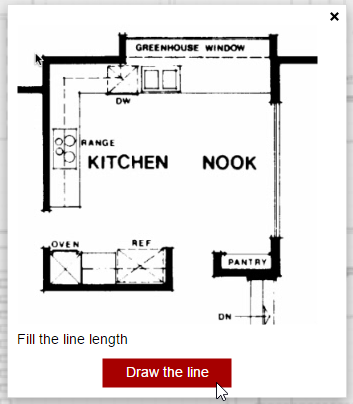
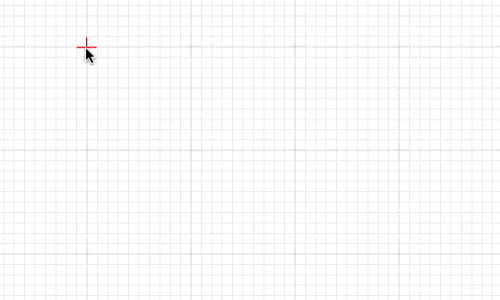
Click to place the beginning of the scaling line. Click again to stop the line.
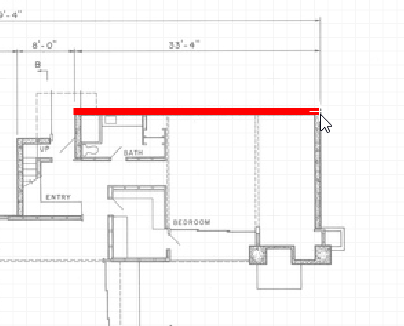
Enter the dimensions of the line you drew. To do so, you can refer to your floor plan, take real life measurements or give a rough estimation.